LivestockLogix

PLATFORM TUTORIALS

Short help for every LivestockLogix tool

Pick a task, follow a few plain-language steps, and open the tool when you are ready. Screens may change slightly as the platform improves.

Getting Started

Get comfortable with the basics

Ask LivestockLogix for help

Create a private support case and follow the reply in one place.

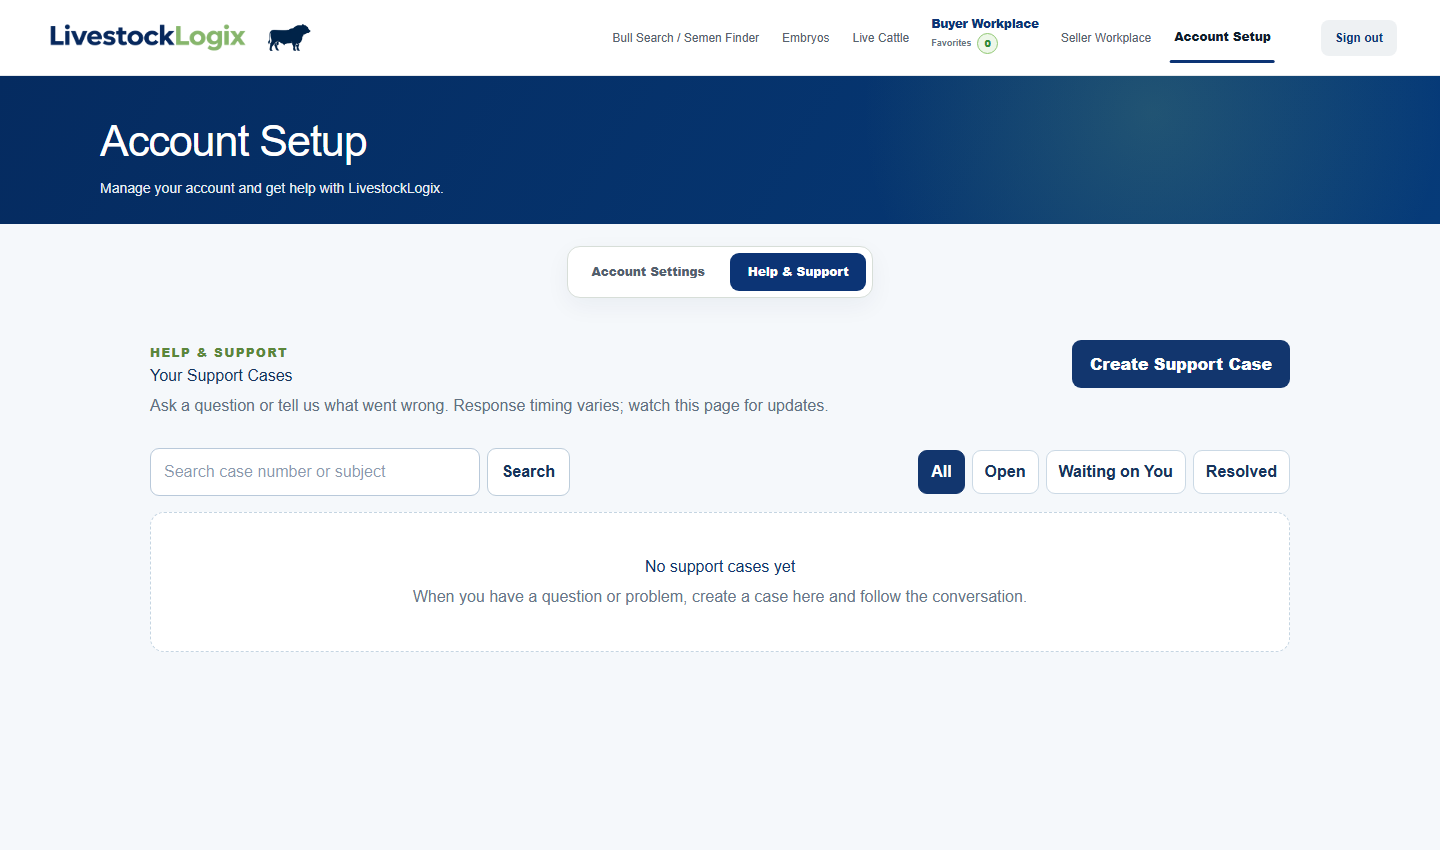
  1. Open Account Setup, select Help & Support, and first check whether an existing case already covers the same question.
  2. Select Create Support Case, choose the closest request type, and write a short subject that identifies the problem.
  3. Describe what happened, what you expected, and the page where it occurred. Attach a focused screenshot only when it helps explain the issue.
  4. Submit once, keep the CASE number shown in the confirmation, and return to that case thread for support replies or follow-up information.
Open this area →
Help and Support area in Account Setup
The signed-in Help & Support page keeps private cases and support replies with the member account.

Research & Buying

Find the genetics or cattle you need

Choose the right Bull Search mode

Research all bulls, find active semen, or review only favorited bulls.

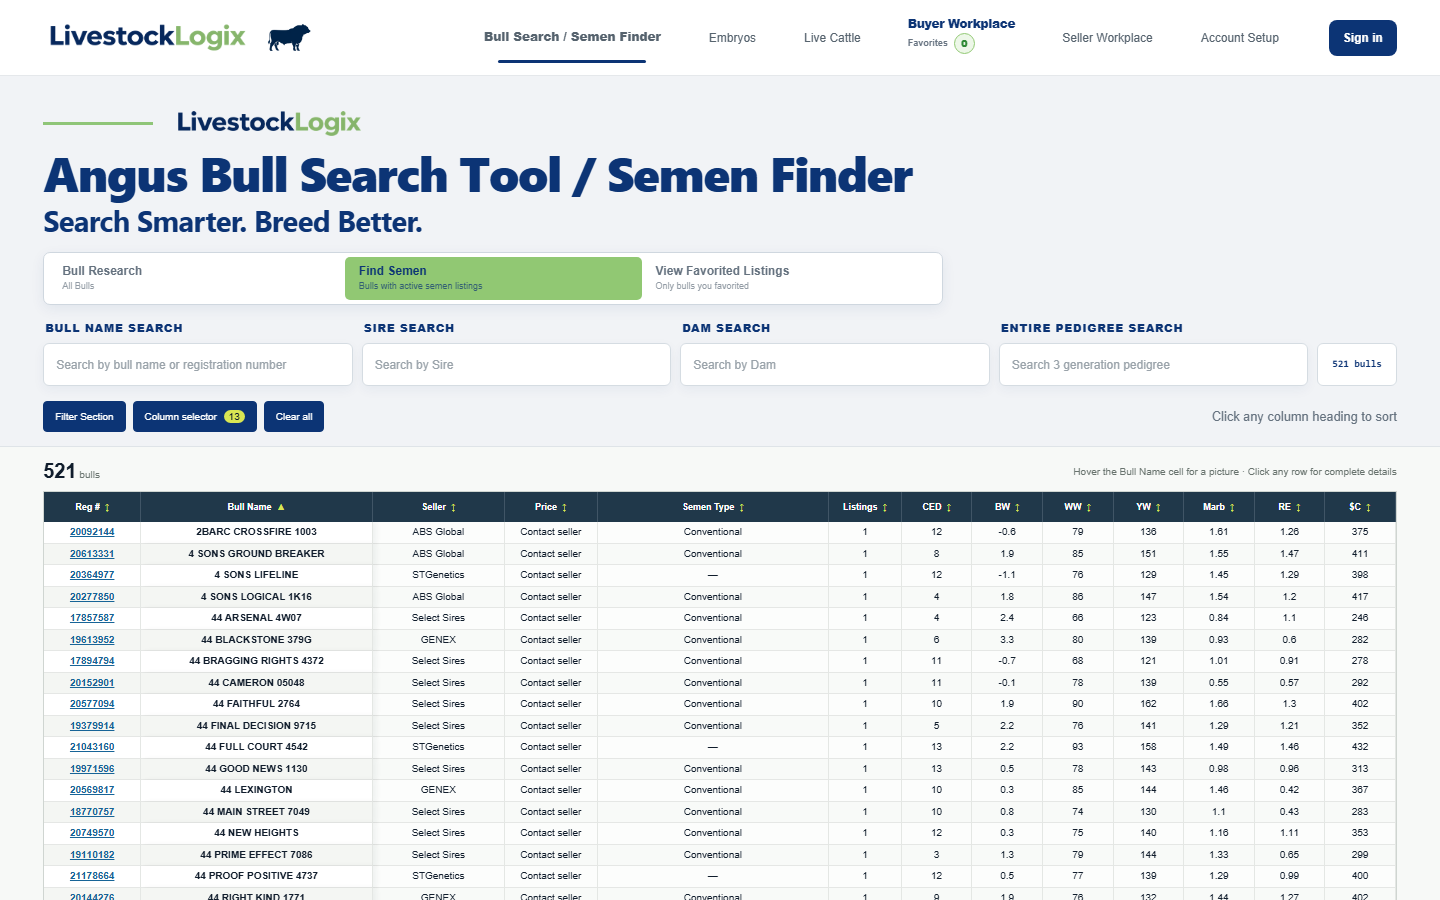
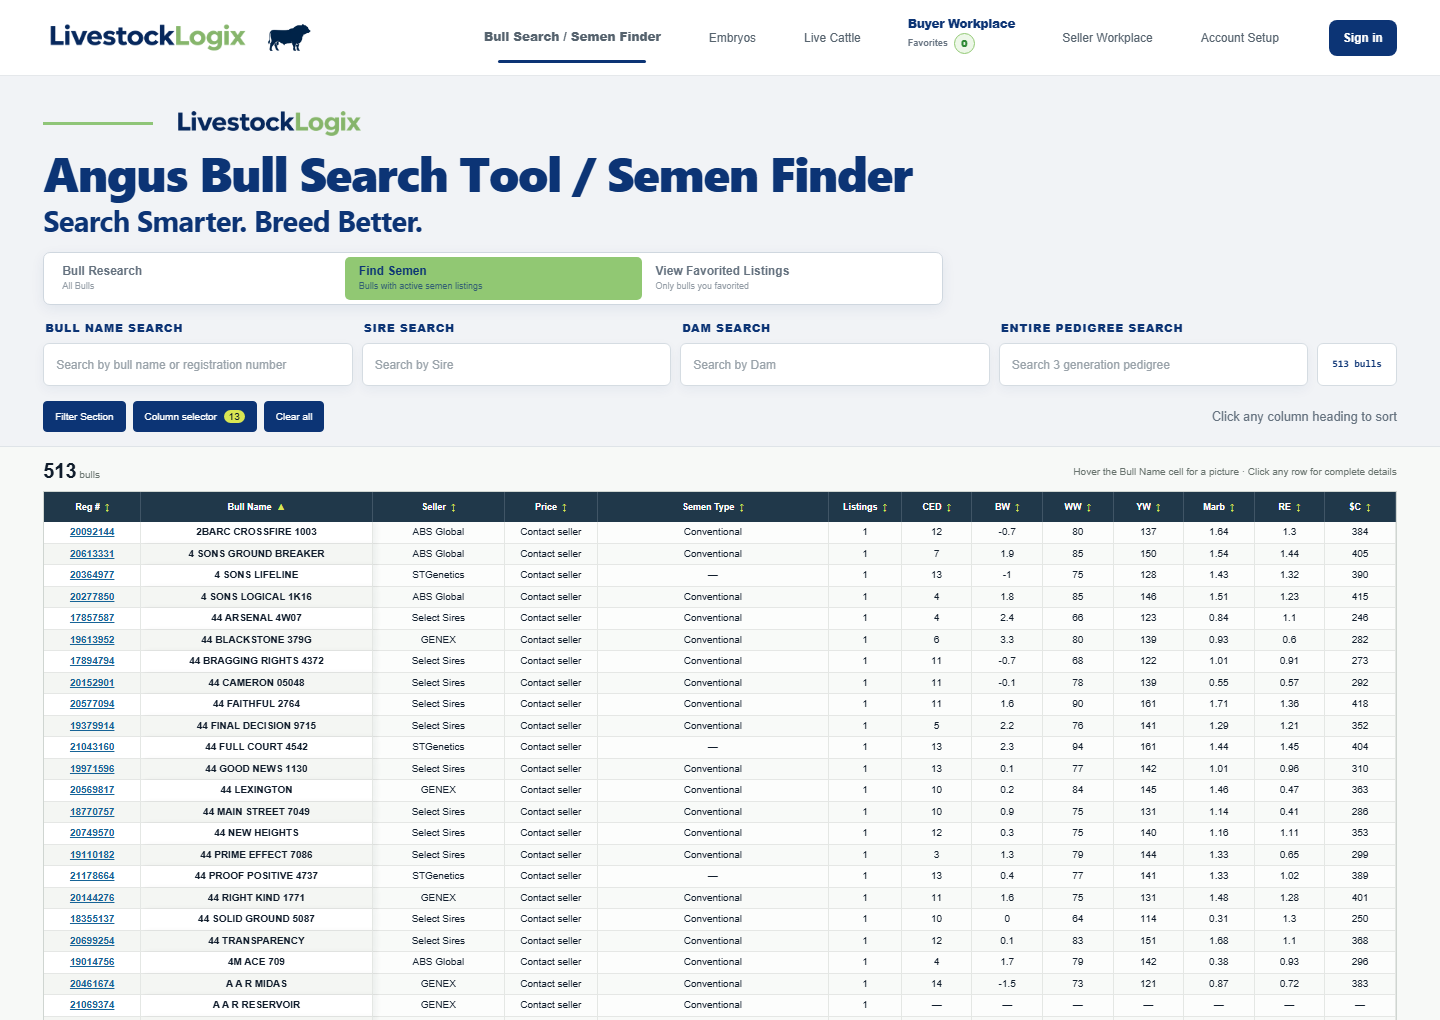
  1. Open Bull Search / Semen Finder and find the three mode buttons above the search fields.
  2. Choose Bull Research when you want complete static bull records, whether or not semen is currently listed.
  3. Choose Find Semen when you only want bulls connected to active semen listings.
  4. Choose View Favorited Listings when signed in to rebuild the table from bulls you previously favorited.
Open this area →
Bull Search and Semen Finder modes
The three mode buttons change which bulls appear in the same comparison table.

Search, filter, sort, and choose columns

Narrow a large Angus catalog without losing the fields that matter to you.

  1. Open Filter Section when you need to filter EPD, actuals, or birthdate.
  2. Filter with the bull, sire, dam, or entire-pedigree search field for a more targeted search. Results narrow as you type.
  3. Open Column selector, add or remove comparison fields, move them into the order you want, and select Done to apply the layout.
  4. Select a table heading to sort the current results. On desktop, hover over any row to see the bull picture, or select the row to open the complete detail record.
Open this area →
Bull Search filters and data table
Search fields, filters, the column selector, and sortable headings work together.

Read a bull’s complete detail page

Review identity, photos, pedigree, EPDs, and all related marketplace listings.

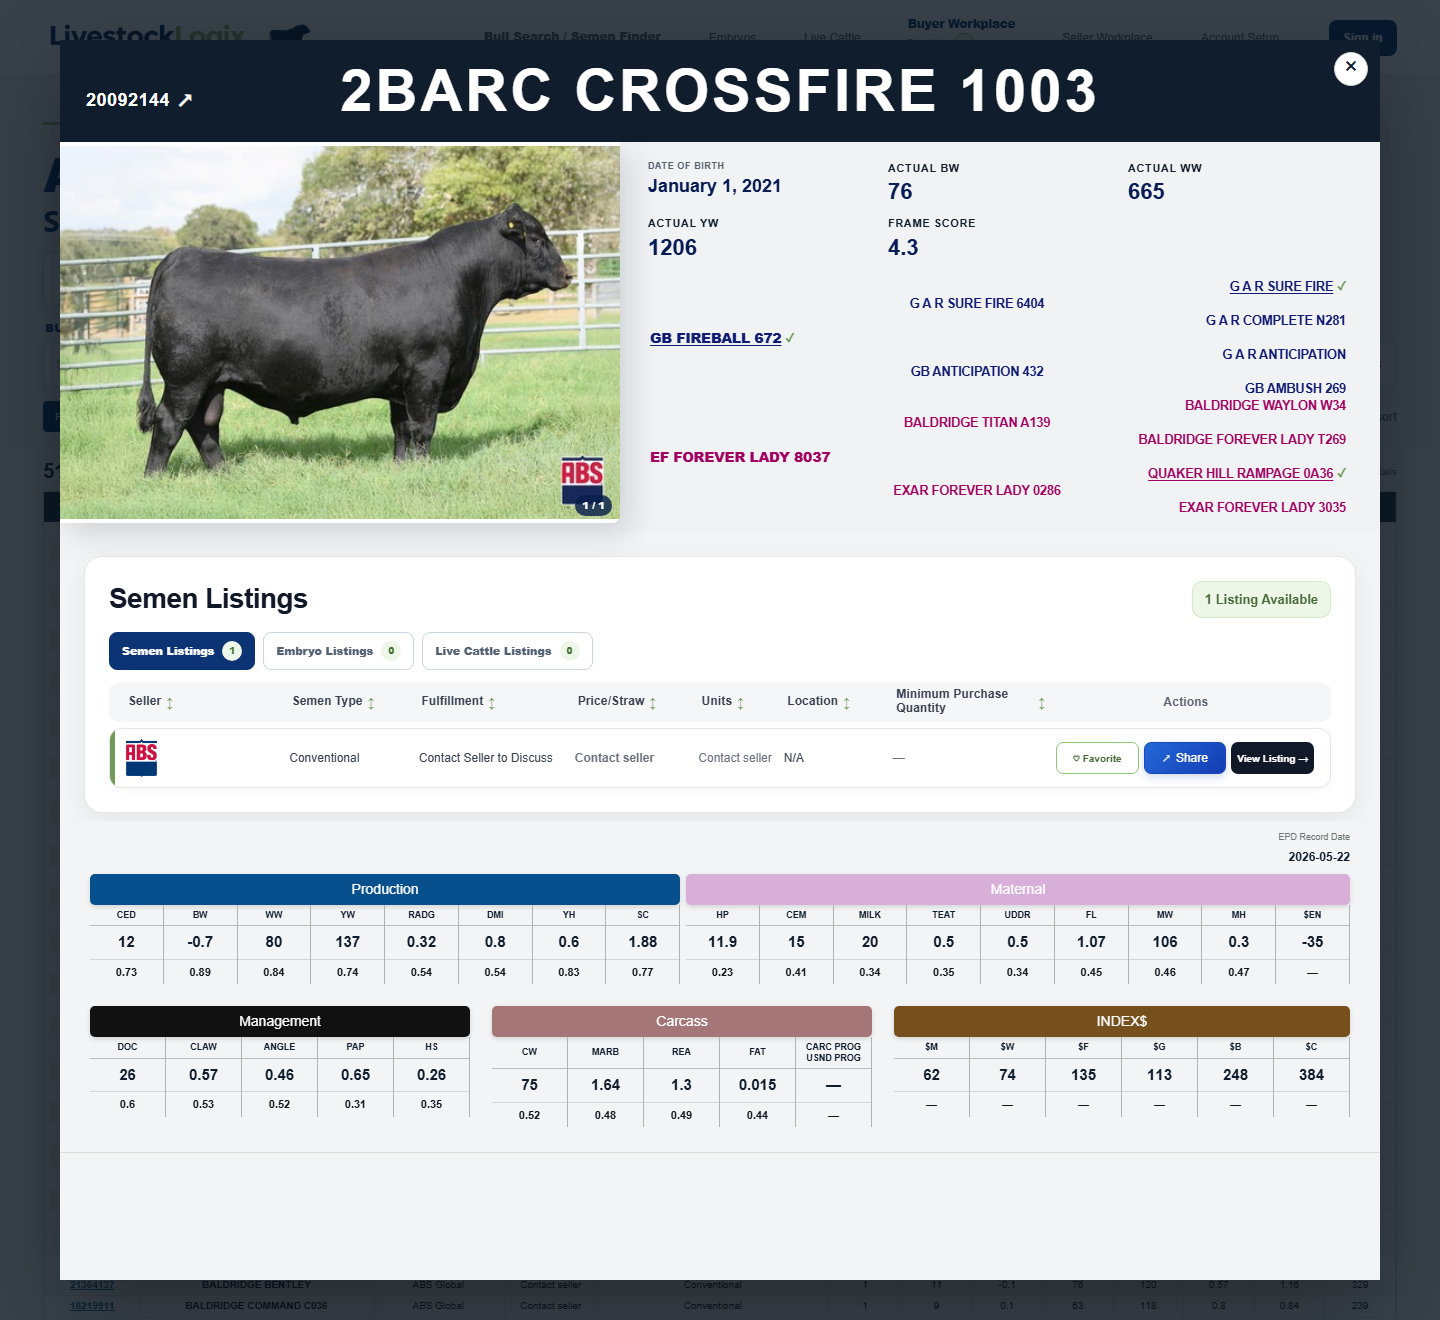
  1. Select a bull row in the search table and confirm the registered name and number at the top of the detail view.
  2. Use the photo arrows to review visible photos. In the pedigree, a linked name and checkmark means that animal has its own complete detail page.
  3. Review Production, Maternal, Management, Carcass, and Index information.
  4. Use the Semen, Embryo, or Live Cattle listing tab to view offerings, then use the listing action that matches what you want to do.
Open this area →
Complete bull detail view with photo, pedigree, and listing area
The detail view keeps the bull photo, pedigree, performance data, and marketplace offerings together.

Organize your favorites

Keep semen, embryos, and live cattle in separate, sortable lists.

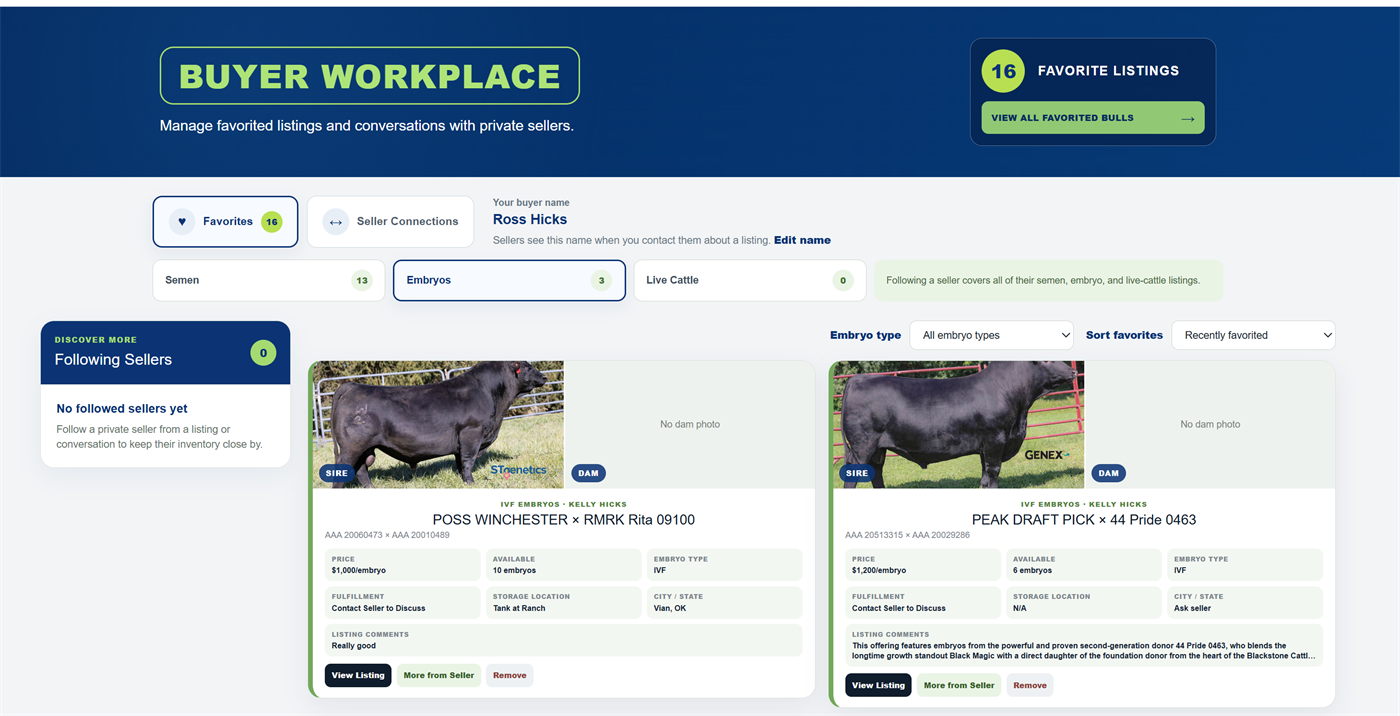
  1. Open Buyer Workplace and select Favorites. The count at the top includes your favorited marketplace listings.
  2. Choose Semen, Embryos, or Live Cattle; the outlined tab confirms which listing type you are viewing.
  3. Use the filters and sort control for that listing type to bring the most useful options to the top.
  4. Open a listing for details, choose More from Seller to browse that seller’s inventory, or select Remove when you no longer want the listing in Favorites.
Open this area →
Buyer Workplace favorites
The active favorite type is outlined, with its own filters and complete listing cards below.

Follow a seller and browse all inventory

One seller page can include active semen, embryo, and live-cattle offerings.

  1. Select More from Seller on any marketplace listing to open that seller’s complete active inventory.
  2. Use Listing category to show all listings or just semen, embryos, or live cattle, then choose the sort order you prefer.
  3. Select Follow Seller once to follow every listing type from that seller; you do not need separate follows for semen, embryos, and live cattle.
  4. Open Buyer Workspace to return to sellers you follow. Followed Sellers appears on the left side of the default page.
Open this area →

Use Buyer and Seller Connections

Keep each listing question and its seller conversation together.

  1. Select Message Seller from a listing. LivestockLogix creates one conversation tied to that exact offering.
  2. Return through Buyer Connections or Seller Connections, then use the listing-type and conversation filters to find the thread.
  3. Select View Listing in the conversation header to reopen the original listing. Closing it returns you to the conversation you were reading.
  4. Reply when the other party has responded, share direct contact information only when appropriate, and close the conversation when the discussion is complete.
Open this area →

Selling

Present and manage your inventory

Build your seller profile

Set the public identity and contact preferences buyers see.

  1. Open Seller Workspace; Seller Profile opens by default. Wait for the profile form to finish loading before making changes.
  2. Enter the ranch or business name and location buyers should see. Optionally add a logo, adjust its zoom and position, and review the crop before saving.
  3. Choose the preferred contact method and make sure the associated phone or email information is accurate.
  4. Leave seller inventory sharing enabled when buyers should browse and follow all active listings, then select Save Seller Profile and wait for confirmation.
Open this area →

Add and manage semen listings

Create one listing or use the bulk sheet, then manage it from the inventory table.

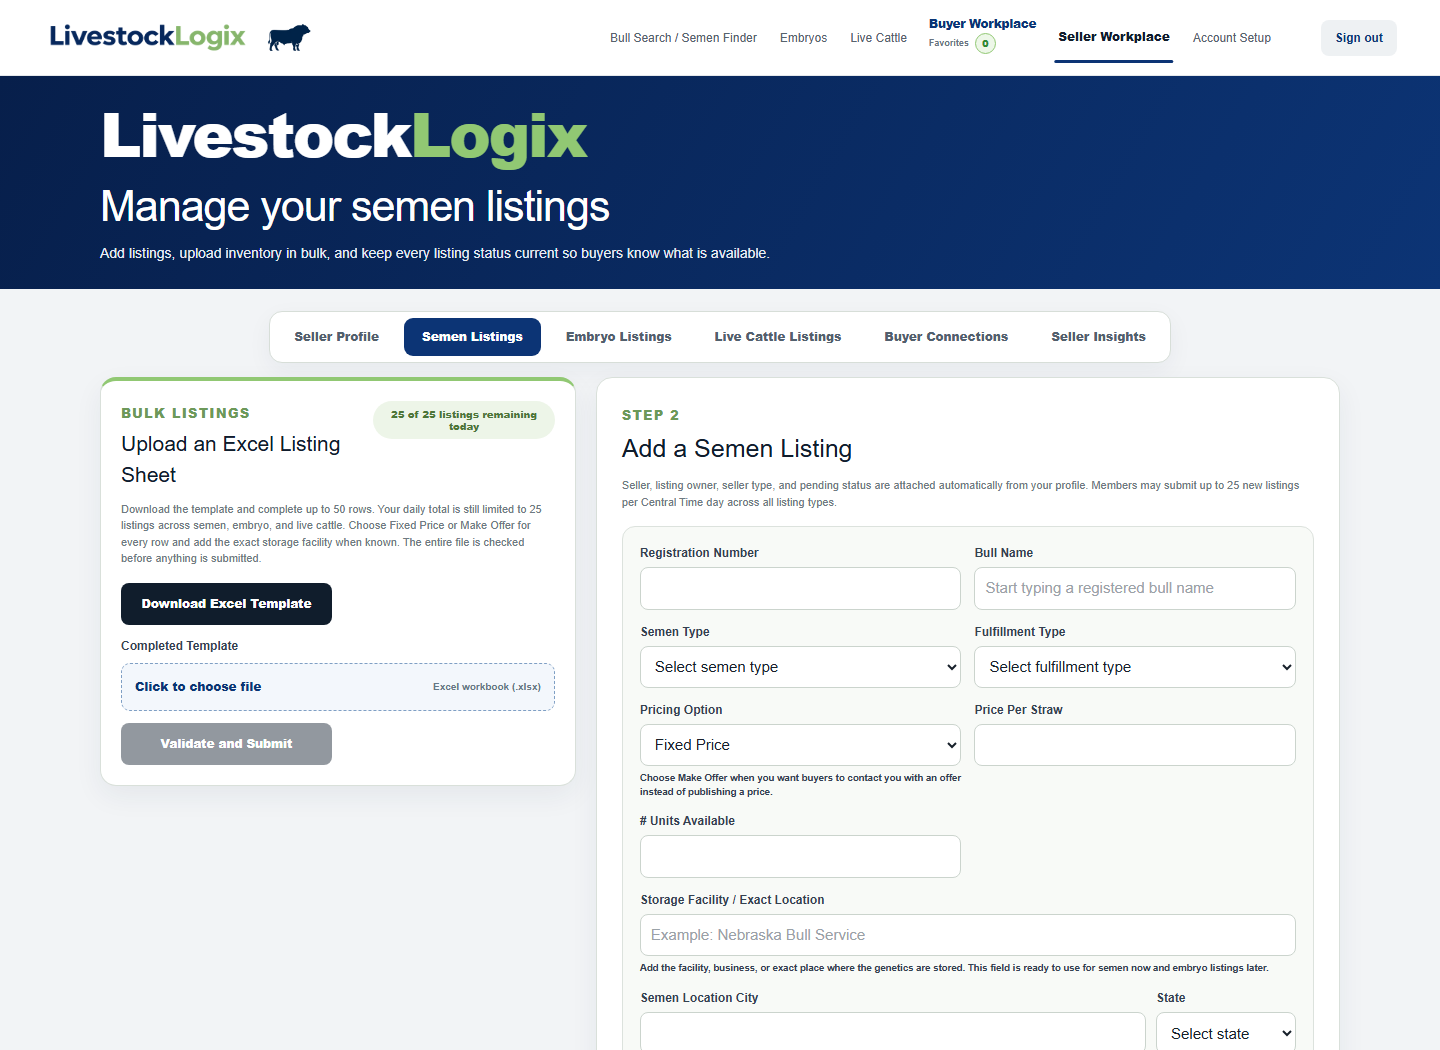
  1. Open Semen Listings. For one offering, start typing the bull name or registration and select the matching complete bull record if it appears.
  2. Enter the semen type, pricing choice, available units, minimum purchase, fulfillment, and exact storage location that buyers need.
  3. Add listing-specific photos and a short Photo Note when helpful. Photos remain controlled from the completed bull record and are approved by an administrator.
  4. Submit for review, or use the bulk template for multiple rows. The listing table shows approval status, pending edits, rejections, photo controls, and future editing actions.
Open this area →
Seller Workspace navigation
Semen Listings supports both the single-listing form and a validated bulk spreadsheet.

Add and manage embryo listings

Match sire and dam records, add mating details, and follow review status.

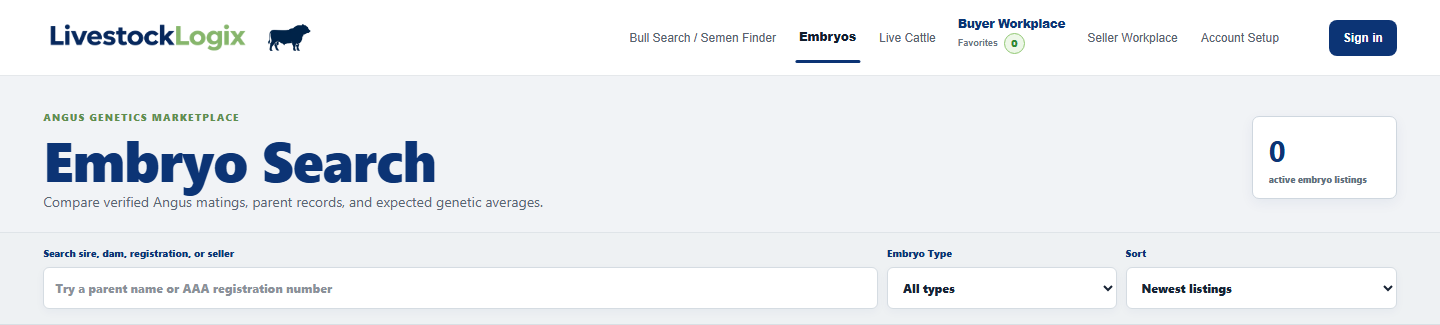
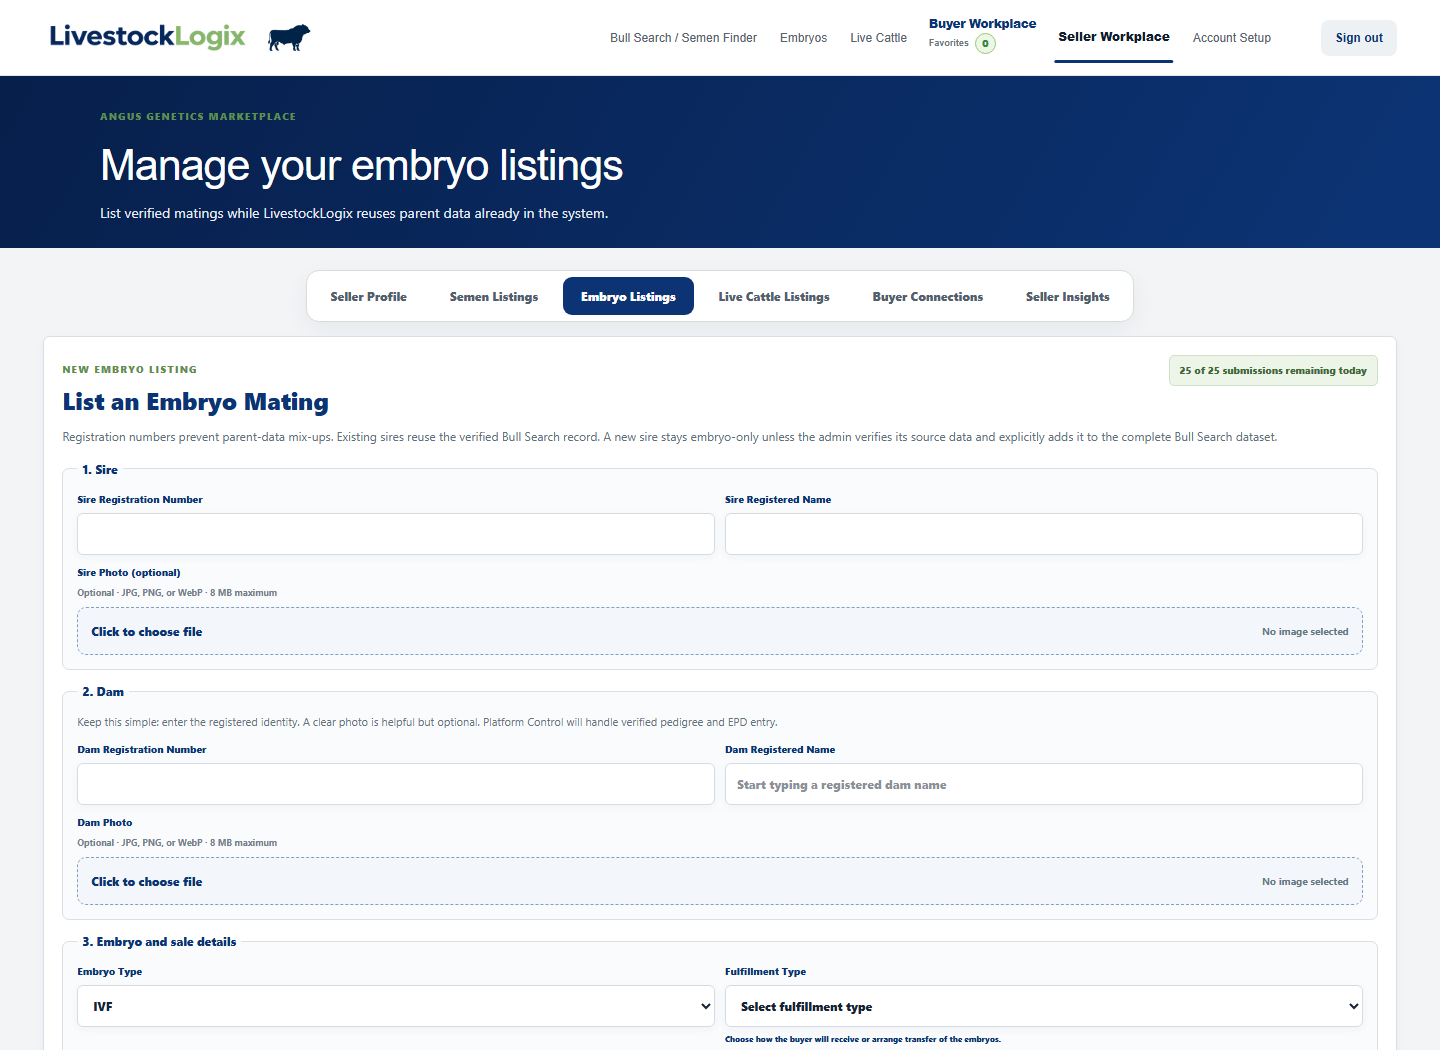
  1. Open Embryo Listings and start with the sire and dam. Select the matching completed record when one exists; otherwise enter the requested identity details carefully.
  2. Choose embryo type and enter quantity, price, storage location, fulfillment, and any concise comments buyers need.
  3. Submit for review, then use the listing table to monitor approval, read rejection feedback, edit the offering, mark it sold, or return an eligible sold listing to active review.
Open this area →
Seller Workspace used to access embryo listings
Embryo Listings is the third Seller Workspace tab and opens the mating form and inventory table.

Build a live-cattle listing

Use the category-specific form and provide the facts buyers need.

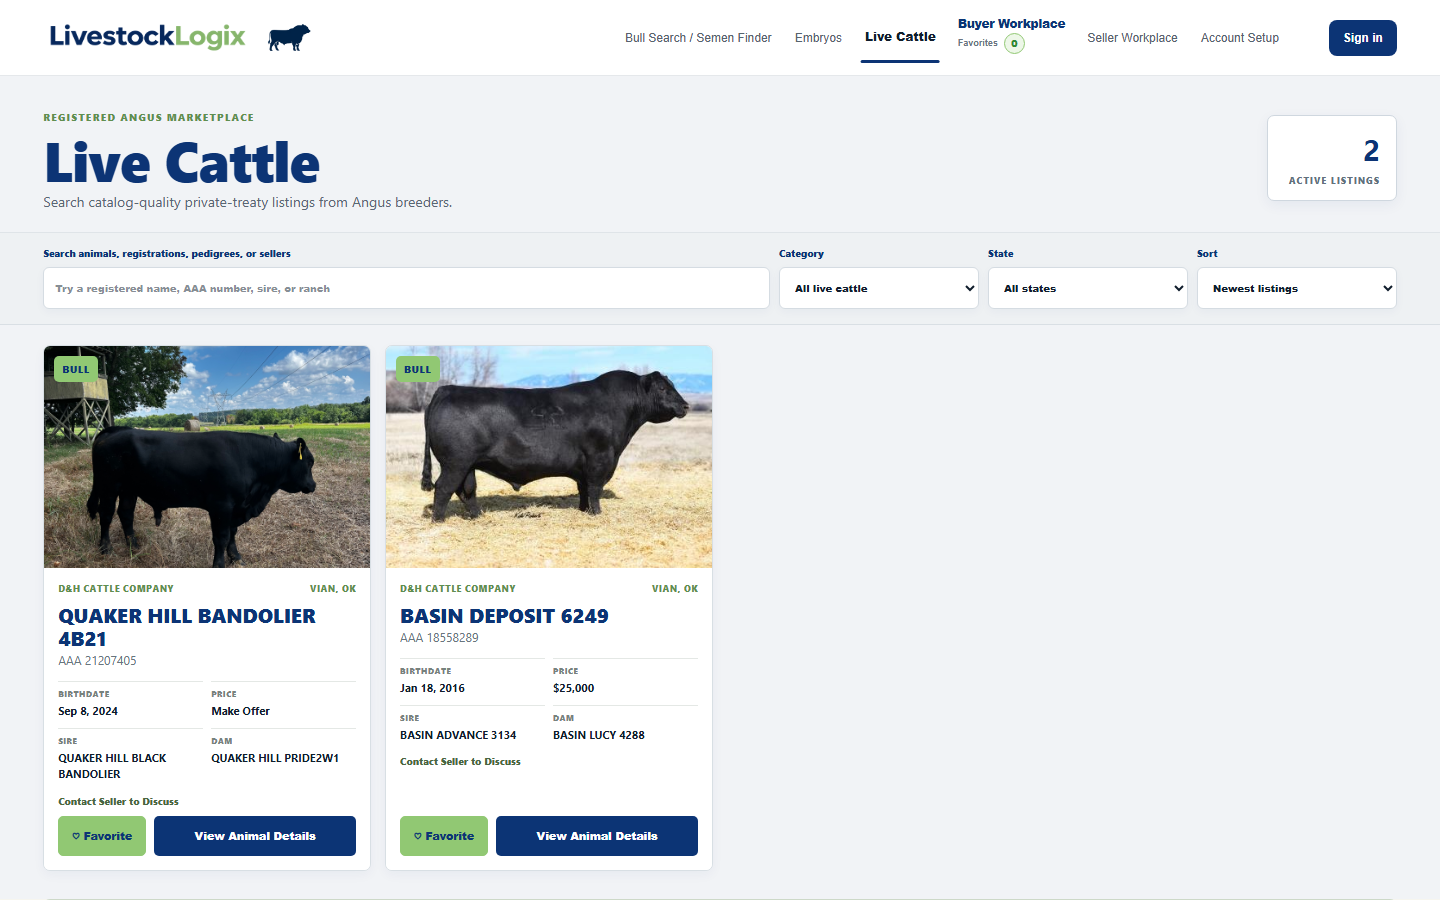
  1. Open Live Cattle Listings, choose the animal category, and complete every field that applies. Leave unavailable or irrelevant fields blank.
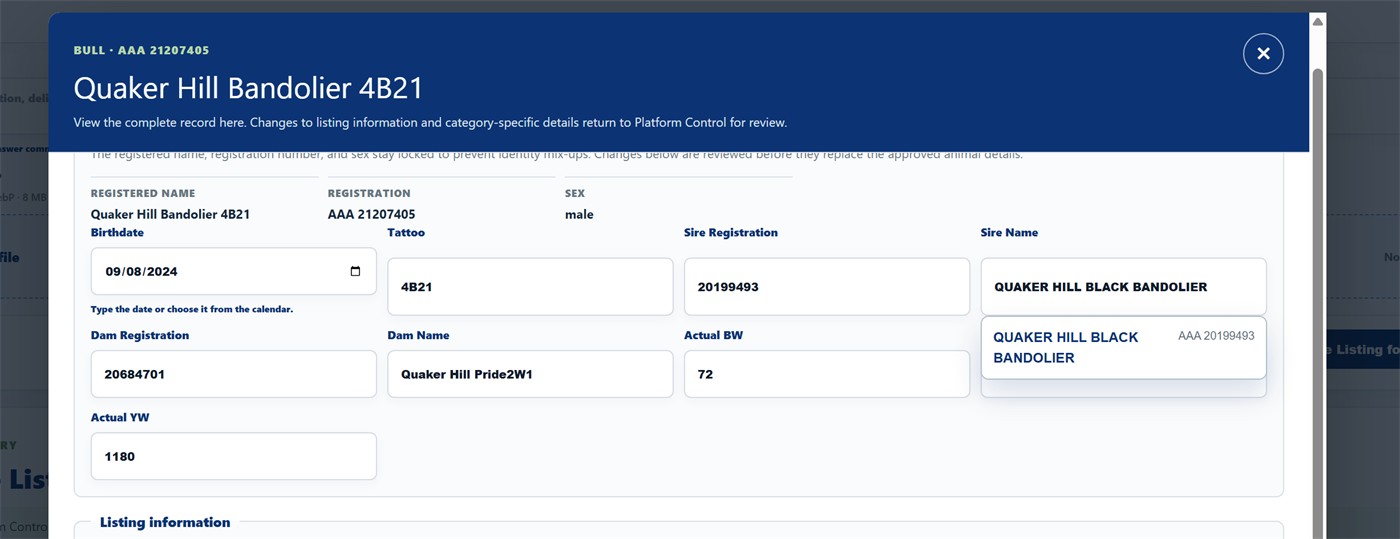
  2. Match the sire and dam to completed records when available, then verify birthdate, tattoo, actual weights, and category-specific breeding information.
  3. Add all useful animal photos, choose the primary photo for search cards, add accurate photo notes, and clearly explain delivery or pickup.
  4. Submit for review. Use Edit/View in the table for later changes. The currently approved version stays visible while an edited version is pending.
Open this area →
Seller Workspace used to access live cattle listings
The live-cattle editor keeps identity, pedigree, weights, and listing information in one reviewed form.

Use Seller Insights

See which listings attract attention and where buyer interest is strongest.

  1. Open Seller Insights and wait for the dashboard to finish loading your listing activity.
  2. Choose semen, embryo, live cattle, or the combined view, then select the time period that matches the decision you are making.
  3. Compare meaningful attention signals such as search appearances, listing views, favorites, and buyer contacts. A search appearance is counted when an active listing is visibly shown in a buyer’s results.
Open this area →